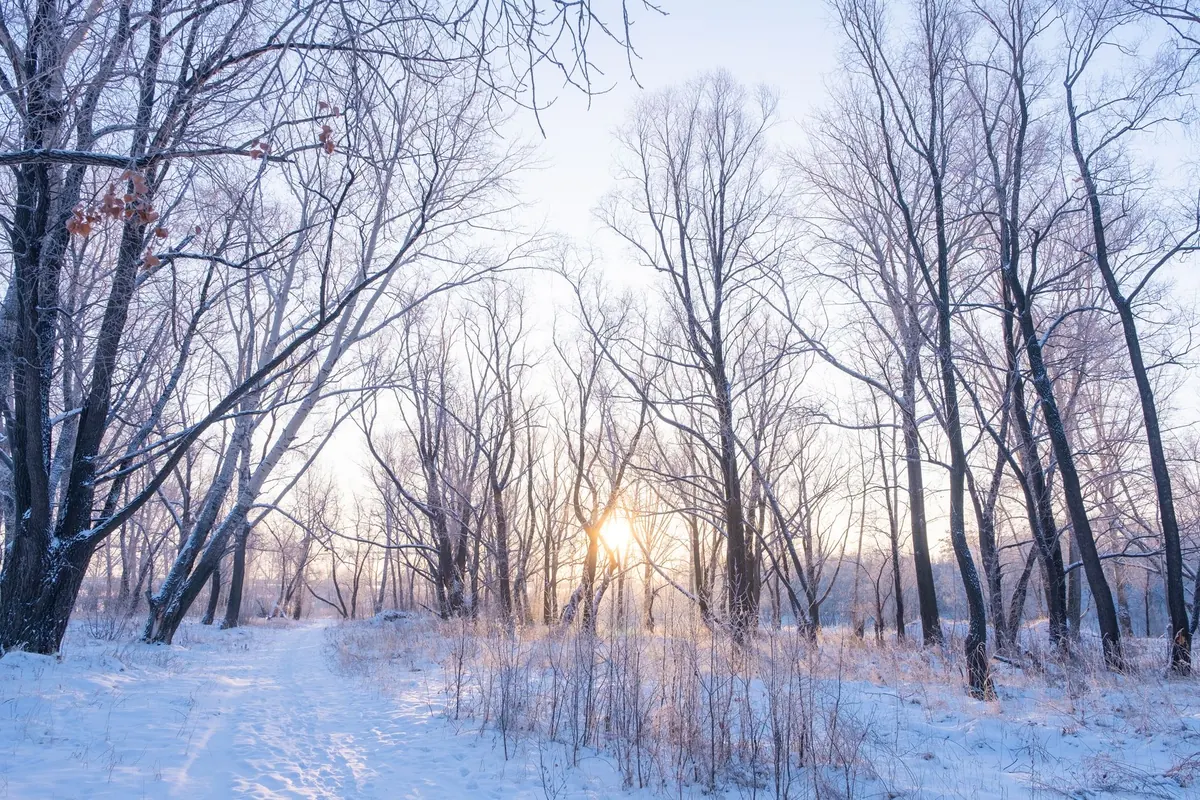
The best winter light usually shows up on mornings that hurt your face. Snow reduces a landscape to line and shape, frost turns dead weeds into something worth stopping for, and the low sun rakes across the ground at an angle you never get in June. The catch is that your camera was built for room temperature. Most winter failures aren't dramatic. A battery quits at frame forty, a lens fogs from the inside, and snow comes home the color of wet concrete. All three are avoidable with a bit of planning before you leave the house.
Battery Care: Keep the Warm Ones Close
Lithium-ion batteries don't lose their charge in the cold so much as they lose the ability to release it. The chemistry slows down, voltage sags, and the camera reads a half-full battery as empty. Warm the cell back up and most of that capacity returns. Nothing is wasted.
So carry spares against your body, not in the camera bag. An inside chest pocket is ideal. Bring two or three for a serious outing and rotate them: the working battery in the camera, the spent one back in your pocket to recover. If you're standing around waiting for light, tuck the camera inside your jacket between frames. That alone will roughly double your shooting time on a cold day.
A word on hand warmers: they work, but don't press one directly against a battery for hours. Keeping spares at body temperature is enough.
Condensation Is the Real Gear Killer
Water is the enemy, and cold weather manufactures it constantly. Warm air holds moisture; cold surfaces force that moisture to drop out. That means a camera going from a warm house to freezing air is fine, but the return trip is where damage happens. Moisture condenses inside the lens barrel and, in bad cases, on the sensor.
The fix is boring and it works:
- Load your bag indoors, at room temperature, and zip it up before you walk out the door.
- When you come back in, leave the bag closed. Don't open it to check your shots. Give it an hour or two to reach room temperature gradually.
- For the worst cases — a warm car after a long, cold session — put the camera in a sealed plastic bag or dry bag with a desiccant packet before you bring it in.
- Change lenses indoors, or in a car with the heat off and the windows down. If you must swap in the field, turn your back to the wind and work fast.
- Avoid extending zoom lenses in wet snow where you can. Every time a barrel extends, it pumps air — and whatever is floating in it — through the body.
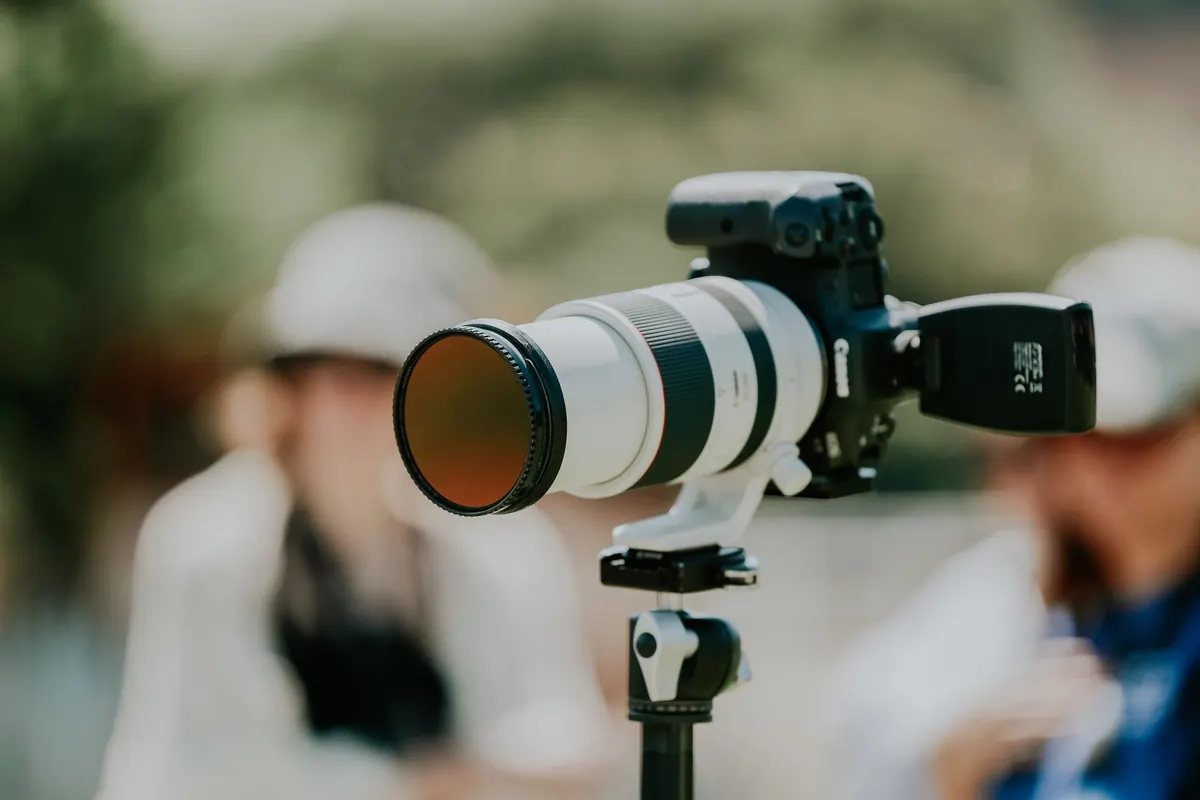
Two small habits help as well. Keep a microfiber cloth in an inside pocket so it stays dry and warm, and use a lens hood even on gray days. It blocks blown snow and stray flakes from landing on the front element. A clear filter is cheap insurance if you're shooting near ice or blowing spray.
Making Snow Look White
Your meter wants to render everything as a middle gray. Point it at a snowfield and it obediently underexposes, which is why so many winter photos come out dull and blue-gray. The scene isn't wrong; the meter is doing its job on the wrong assumption.
The practical answer is exposure compensation. Start at plus one stop for snow in direct sun and push toward plus one and two-thirds for bright, flat overcast. Then check the histogram rather than the rear screen — a screen's brightness lies to you in bright conditions. On a snowy scene, you want the data piled up on the right side of the histogram without touching the wall. If the highlight warning is blinking across the snow, pull back a third of a stop.
Shoot Raw, Decide Later
Snow is the single best argument for raw files. A raw frame gives you room to pull highlights back and lift shadows in a scene that spans a huge brightness range. In shade, snow genuinely is blue — that's reflected sky, not a mistake. Correct it partway but not all the way, because a little coolness in the shadows gives a winter image depth. If you shoot JPEG, set white balance to daylight or shade and leave it alone rather than letting auto white balance chase color across a scene.
Frost, Ice, and Where to Point the Camera
Frost forms on clear, still nights when the air is humid and the ground radiates heat away. That means the good stuff is gone by mid-morning, so plan to be out before sunrise and shoot fast once the sun clears the horizon.
- Backlight the frost. Get the sun behind your subject and every crystal lights up. Shoot low, near ground level, so the light travels through the frost rather than across it.
- Stop down for texture. F/8 to f/16 keeps a frost-covered leaf edge sharp from front to back. Use a tripod, because you'll be at slow shutter speeds in low light.
- Use a polarizer. It deepens a winter sky and cuts glare off ice sheets, revealing patterns beneath the surface.
- Look for the graphic. Snow on dark branches, a single track crossing a white field, a fence line disappearing into fog. Winter scenes are often strongest when they're simple.
Hands, Feet, and Staying Out Longer
You can't photograph well when you're miserable. Thin liner gloves under mittens let you work the dials without bare skin, and a remote release or your camera's two-second timer means you don't have to hold a cold metal tripod steady with numb fingers. Wrap tripod legs with foam pipe insulation if you shoot in serious cold — bare aluminium against skin is unpleasant at best.
Wear traction on icy trails and tell someone your route before you go. If your fingers or toes go numb, white, or waxy, that's a warning sign rather than something to push through. Warm them gradually and get medical help if normal feeling doesn't return.
A Short Field Checklist
- Two or three spare batteries, carried in an inside pocket
- Lens hood, microfiber cloth, clear filter
- Sealed bag and desiccant for the trip home
- Exposure compensation set to plus one before you start
- Histogram view enabled, highlight warning on
- Tripod, remote release, insulated legs
- Liner gloves, mittens, warm boots, traction
The first winter shoot is always slower than you expect. Batteries behave differently, your fingers work at half speed, and the light you came for lasts about twenty minutes. Go anyway. Learn your own cold-weather routine on a short local outing, and by the time a real snowstorm or a hard frost arrives, the camera will be the last thing you're thinking about.
Photo: Наташа Нирамайя / Pexels