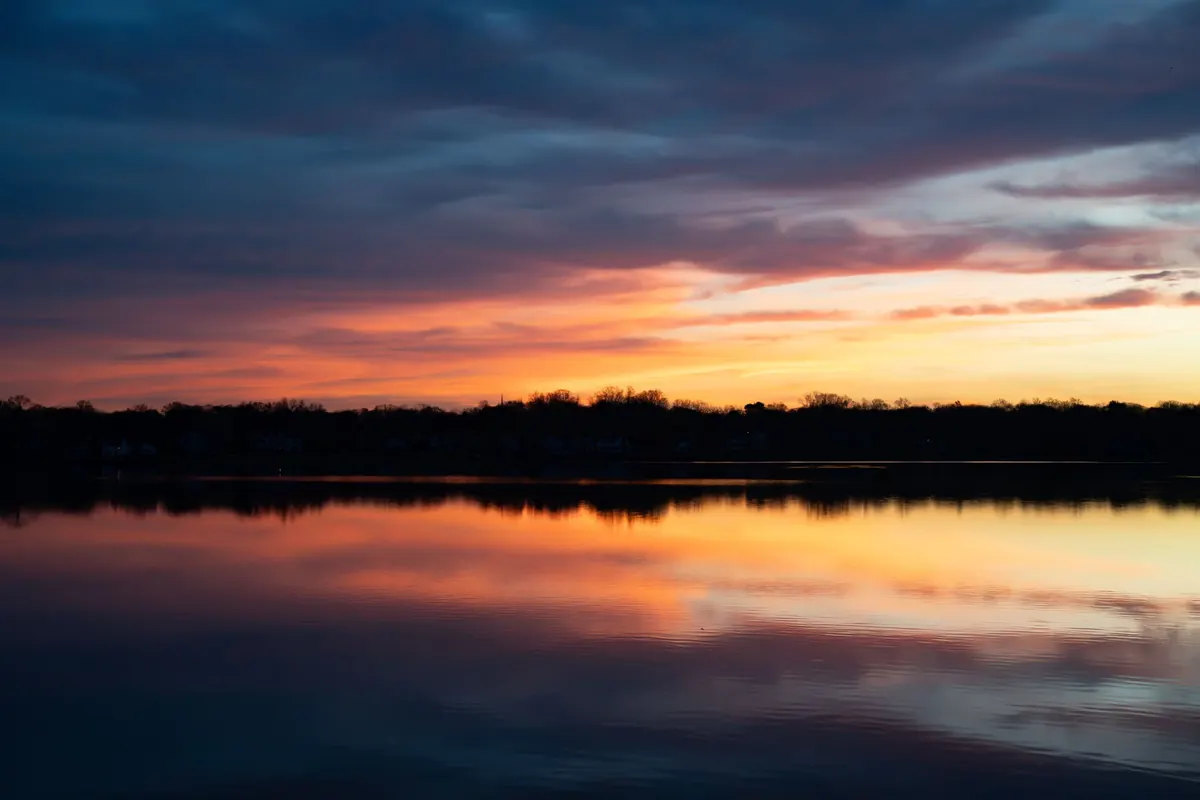
You are standing at the edge of a mountain lake, camera bag open, and the light is doing something extraordinary. The clouds are moving fast, the water is glassy, and somewhere in the back of your mind a question surfaces: would a filter make this better? Then comes the follow-up, the one that empties wallets: which filter, exactly, and which one first?
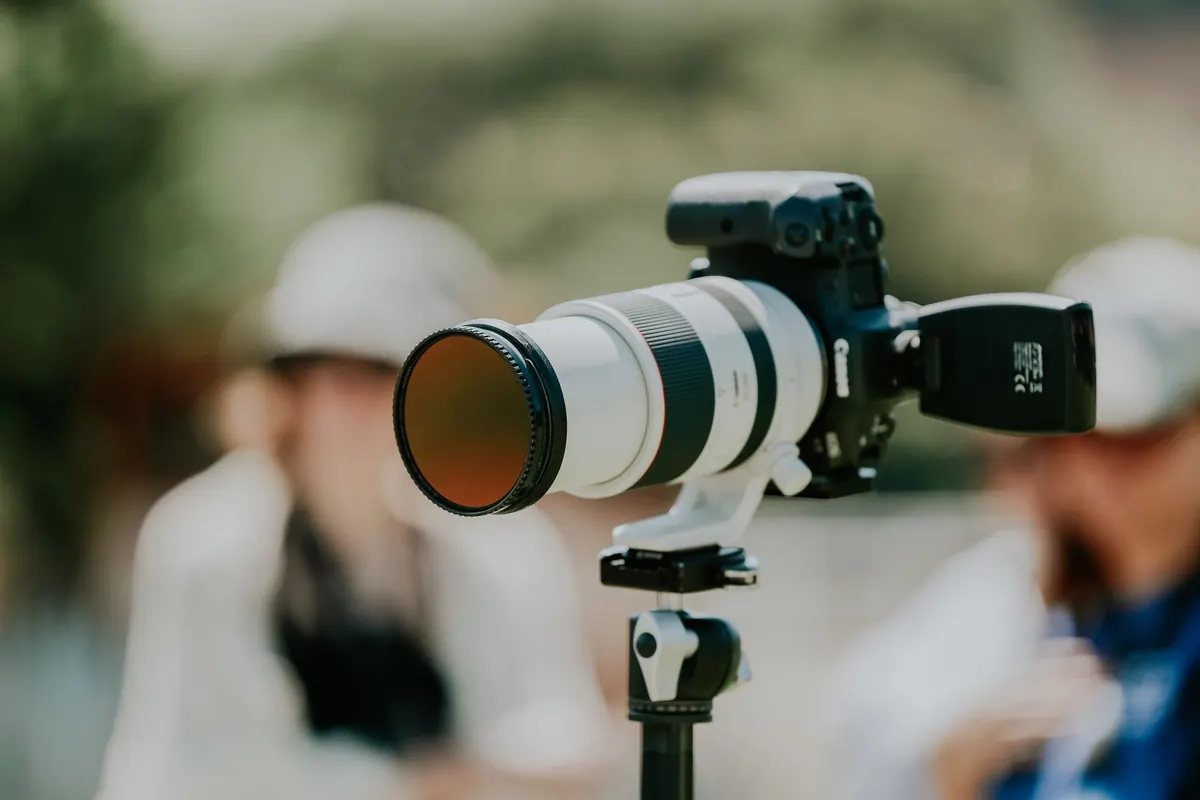
Nature photographers ask this constantly, and the honest answer depends less on gear trends and more on what you actually photograph. Polarizers and neutral density filters solve completely different problems, and buying the wrong one first means it sits in your bag while you improvise with the right one. Here is how the two compare, and how to decide.
What a Polarizer Actually Does
A circular polarizing filter cuts glare. Light bouncing off water, wet rocks, leaves, and glass arrives at your lens vibrating in many directions. A polarizer filters out part of that scattered light, which does two things at once: it deepens color saturation and it lets you see through reflective surfaces.
Turn the ring and the effect changes before your eyes. At one setting, wet boulders along a stream reveal their texture and color. At another, the reflection returns. That control is the whole appeal, and it is genuinely hard to reproduce in editing software.
The classic use cases:
- Waterfalls and streams, where cutting surface glare reveals the rocks below
- Autumn foliage, where haze reduction makes reds and yellows cleaner
- Wet forests and moss after rain, where glare flattens everything without a polarizer
- Skies at roughly 90 degrees from the sun, where blue deepens and clouds separate
Two caveats matter. The effect is strongest when the sun is at your side, weakest when it is behind or in front of you. And on very wide lenses, polarizing the whole sky can produce an uneven gradient, with one corner darker than the other. Rotate gently and check the edges.
What an ND Filter Actually Does
A neutral density filter does one simple thing: it blocks light without changing color. That sounds dull until you realize it lets you choose shutter speeds that would otherwise be impossible in daylight.
Solid NDs come in fixed strengths, usually measured in stops. A 3-stop filter is gentle, useful for shallow depth of field in bright conditions. A 6-stop opens up longer exposures. A 10-stop is the classic choice for turning moving water into mist and clouds into streaks.
Variable ND filters adjust continuously by rotating two stacked polarizing elements. They are convenient, but cheap ones tend to produce a dark cross pattern at their strongest settings and can shift color. If you go variable, buy carefully.
The Real Difference in Practice
Here is the cleanest way to think about it. A polarizer changes what the camera sees — it removes glare and enriches color. An ND filter changes how long the camera sees — it stretches time.
That distinction drives everything else. Polarizers are about clarity and color, and their effect is often strongest in the middle of a bright day with the sun to your side. ND filters are about motion and mood, and they shine at the edges of the day, or anytime you want a long exposure despite bright light.
Neither replaces the other. Stacking both is possible, though the polarizer goes in front and you should watch for vignetting on wide lenses.
Finding Your Priority: A Short Checklist
- Count your subjects. If most of your images are forests, streams, foliage, and wet landscapes, a polarizer will earn its place on the lens.
- Look at your shutter speeds. If you keep wanting exposures of half a second or longer in daylight, you need ND.
- Check your lens sizes. Large-diameter filters cost more, and step-up rings let you share one filter across several lenses.
- Decide on a budget ceiling. Good glass costs more than you expect, and buying twice is the expensive path.
Most nature photographers who own both reach for the polarizer more often. It is lighter, easier to use, needs no exposure math, and improves an enormous number of ordinary scenes. The ND filter tends to come out for specific trips: coastal shoots, waterfall days, and anywhere the sky is moving.
Costs and the Long Game
Filter pricing scales with size and quality, and the differences show up in coatings that resist flare and fingerprints, brass or durable aluminum rings that do not seize, and glass that stays sharp to the corners. Cheap filters are the most expensive purchase in photography because you pay once, hate the results, and pay again.
Two habits save money. First, buy the largest thread size you reasonably expect to use, then use step-up rings on smaller lenses. Second, resist the all-in-one kit. A single excellent filter beats a bundle of mediocre ones. For health, money, or legal decisions, consult a qualified professional; for filters, consult your own portfolio.
A Practical Buying Order
If you shoot still landscapes and want better color and clarity right away, start with a polarizer. It earns its keep on nearly every sunny or wet day, and nothing in editing software removes glare from a leaf quite like rotating a ring.
If your eye keeps going to flowing water and blurred clouds, start with a solid neutral density filter in the 6-stop range. It is flexible enough to be useful without forcing absurdly long exposures, and it pairs well with a polarizer later.
Buy the best single filter you can afford, learn it thoroughly on one lens, and add the second type when you can name the specific shot you missed without it. That is the sequence that keeps your bag light and your images improving.
Photo: Amar Preciado / Pexels