The photograph you want is a fox stretched out in the grass, unbothered, doing fox things. The photograph you get when you push too close is a fox staring straight down the barrel of your lens, ears back, already calculating the distance to the treeline. The gap between those two frames is usually a few meters and a little self-control.
Ethical wildlife photography isn't a set of restrictions bolted onto the hobby. It's fieldcraft, and it happens to be the most dependable route to images that don't look like everyone else's. Run through the checklist below before your next outing, and again in the field when your subject does something you didn't plan for.
Start Further Back Than Feels Right
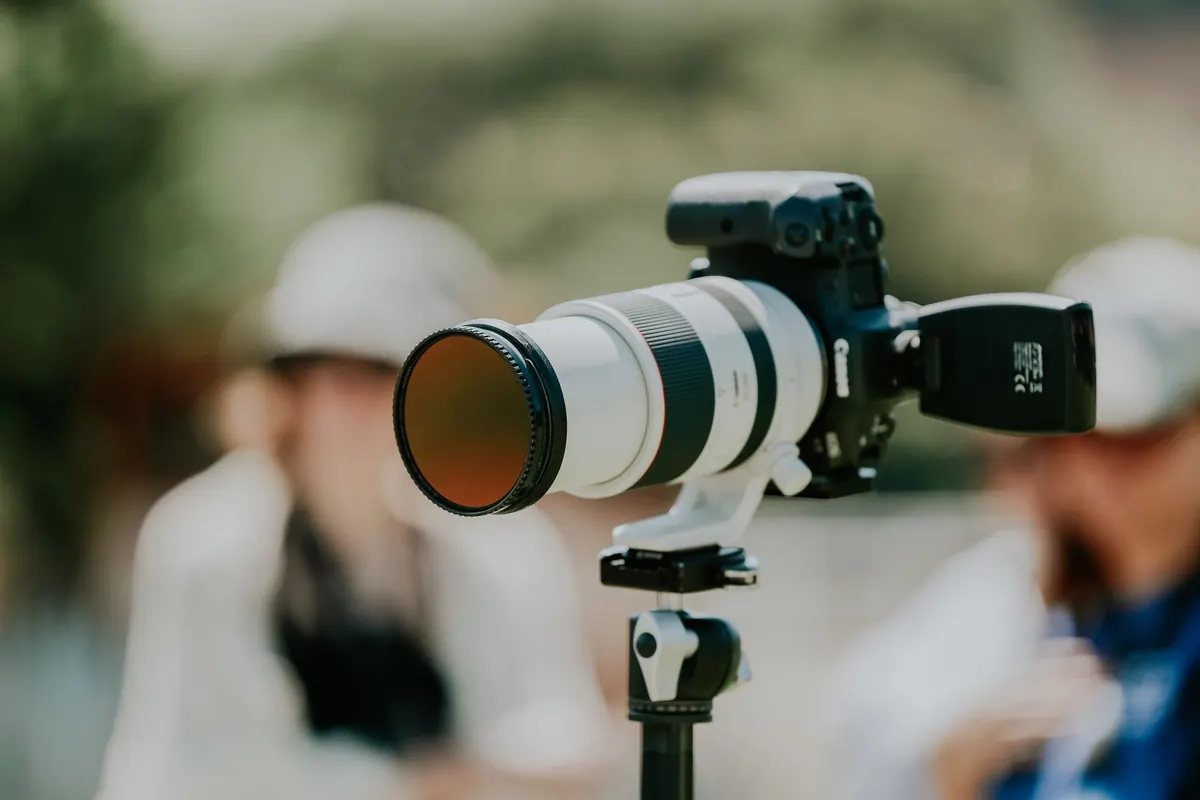
Distance is the lever you control most easily, and almost everyone underuses it. Modern telephoto lenses let you fill a frame from a working distance that would have been unimaginable a generation ago, so use it. Crop later. If you're working with a short lens or a phone, either accept that the animal will be small in the frame or aim for a wide environmental portrait where a heron sits tiny against a bank of reeds. Those images often hold up better than a tight shot taken from a crouch two meters away.
Practical distance management looks like this:
- Arrive before the animals are active. Set up in position, then let them come to you.
- Use a vehicle as a blind when the location allows it. Many mammals read cars as scenery and will carry on grazing.
- Approach at an angle rather than head-on, in short, slow increments, and stop moving entirely when your subject looks up.
- Avoid cresting ridgelines or walking along an open shoreline where you appear as a silhouette against the sky.
- Choose a long lens and a distant, comfortable position over a short lens and a close, stressful one. Every time.
Read the Cues Before You Press the Shutter
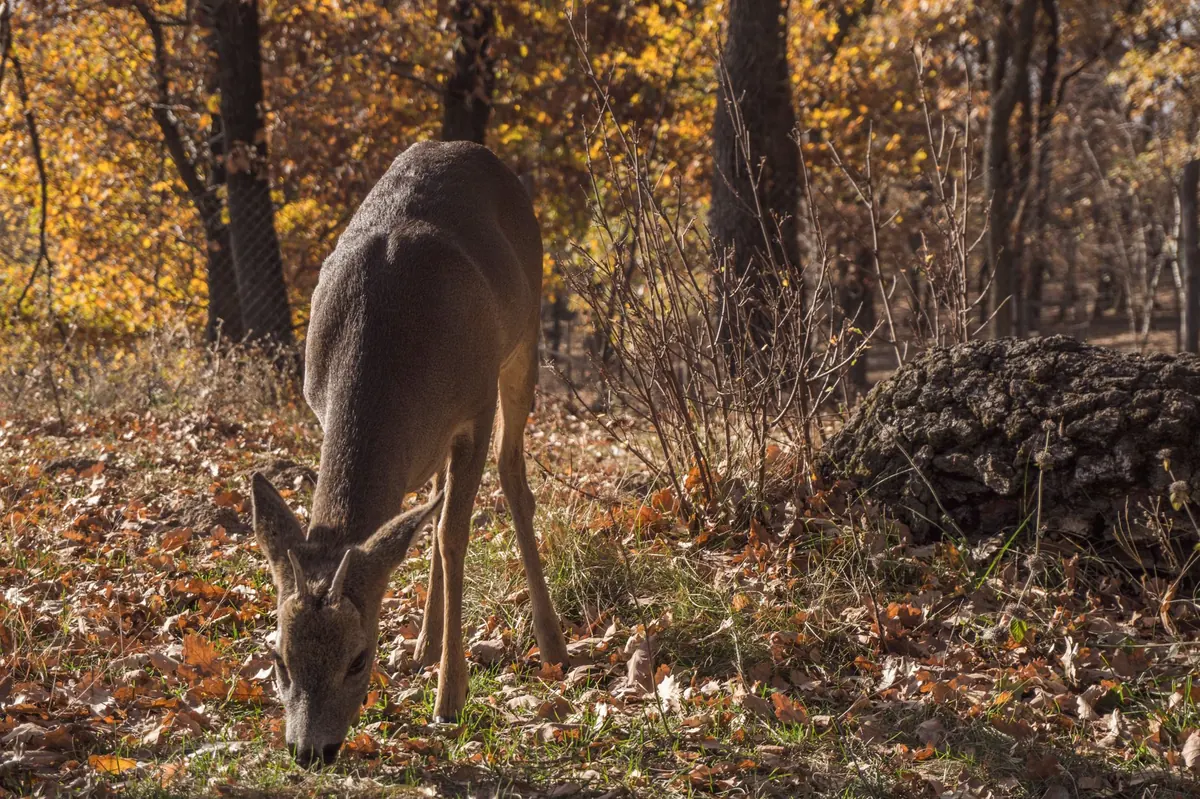
Animals broadcast discomfort long before they flee, and the whole skill of this work is noticing the early signals. A head that comes up and stays up. A direct, unbroken stare. Foot stamping from deer or rabbits, tail flagging, a sharp alarm call, a bird standing up off a nest. Freezing mid-step is not a photo opportunity; it's a decision point. If your subject abandons a kill, a perch, or a sunning spot because of you, you were too close.
The response is always the same: stop, back off the way you came, and wait. Don't chase, don't circle around for a better angle, don't follow an animal that walks away. Many species will settle again in a few minutes once they've decided you're not a threat. Others won't, and that's information too. Let the animal return to what it was doing before you arrived. That return to baseline is your green light, and it usually means a longer lens and a longer wait.
Give Nesting and Denning Seasons a Wide Berth
Spring and early summer are the worst possible time to crowd wildlife, and the busiest time of year for wildlife photographers. A flushed bird leaves eggs or chicks exposed to cold and predators, and repeated disturbance can cause a nest to be abandoned altogether. Nesting and denning animals are also protected by law in many places, with permitting requirements for certain species. Check the rules where you live and for the specific area you plan to visit before you go.
In practice, most nest photography should be done from a distance with a long lens, ideally from a blind you have introduced gradually over several days so the birds accept it. Never trim branches or trample vegetation for a cleaner view. Skip flash on roosting birds at night. If you find an owl day-roost or a den, keep the location to yourself and move on rather than setting up camp. Once young fledge, the pressure disappears and you can shoot freely.
Skip the Bait, Ration the Calls
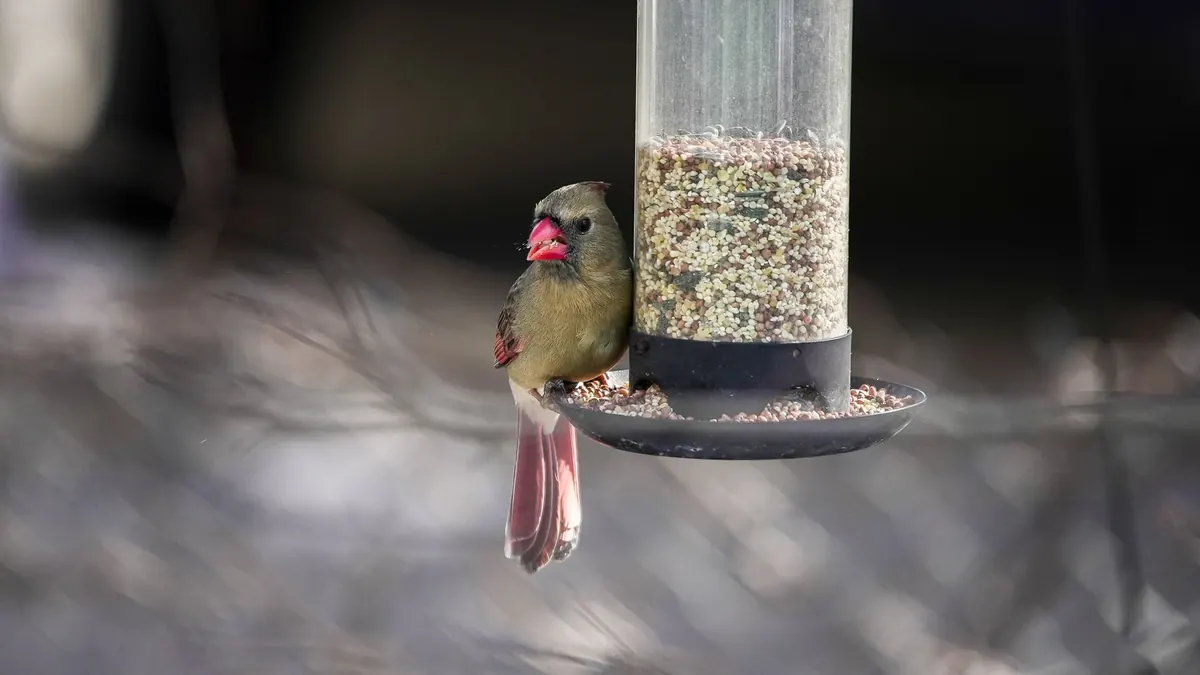
Baiting is the clearest line in wildlife photography, and it's worth holding firmly. Food lures pull animals toward roads and people, habituate them to handouts, concentrate species at feeding sites where disease spreads easily, and change the very behavior you came to document. Live bait for predators is indefensible. Even a humble bird feeder placed to get a kingfisher shot can shift where that bird spends its mornings for weeks.
Recorded calls and playback sit in greyer territory. Used heavily during breeding season, they can pull territorial birds off nests or away from feeding young, and repeated playback costs energy a bird may not have to spare. If you use calls at all, keep sessions short, avoid the breeding season entirely, never use them at the same spot day after day, and stop the moment a bird responds strongly. For most photographers, the honest answer is to learn where a species naturally perches and put in the waiting time instead.
Leave No Trace, and Don't Broadcast the Location
Fieldcraft applies to the ground under your boots as much as to the animal in your viewfinder. Stay on trails and durable surfaces. Don't shift rocks or logs for a cleaner composition, since those small structures are habitat. Pack out everything you bring, including stray bits of tape and lens caps, and pick up what others left behind.
Resist the urge to collect. Feathers, shed antlers, eggshells, and nests are protected in some jurisdictions, and each one removed is a small subtraction from the place you love. Finally, think hard before publishing a location. Exact coordinates for a nest, den, or rare species can send a crowd to a fragile spot within days. Vague captions and stripped GPS data cost you nothing and protect everything.
A Field Checklist
- Check local rules and permit requirements for the area and species before you leave.
- Know the breeding calendar and typical tolerance distance for your target species.
- Carry the longest lens you own, plus a way to stabilize it.
- Use a blind, natural cover, or a vehicle for close work.
- Back off at the first sign of alarm, and don't follow an animal that leaves.
- Stay well clear of nests and dens, and never alter vegetation for a shot.
- Rule out baiting and live lures. Use playback sparingly or not at all.
- Stay on durable ground and pack out more than you carried in.
- Keep sensitive locations out of public posts and geotags.
Make Patience the Technique
The photographers whose work you admire most are rarely the ones who got closest. They're the ones who returned to the same stretch of river forty mornings in a row, learned how the light moves and where the heron likes to stand, and were already sitting still when the moment arrived. That approach costs time and rewards you with better pictures, fewer regrets, and a subject that never learned to fear people. Start with distance and silence this weekend. The rest follows.
Photo: Aferali / Pexels