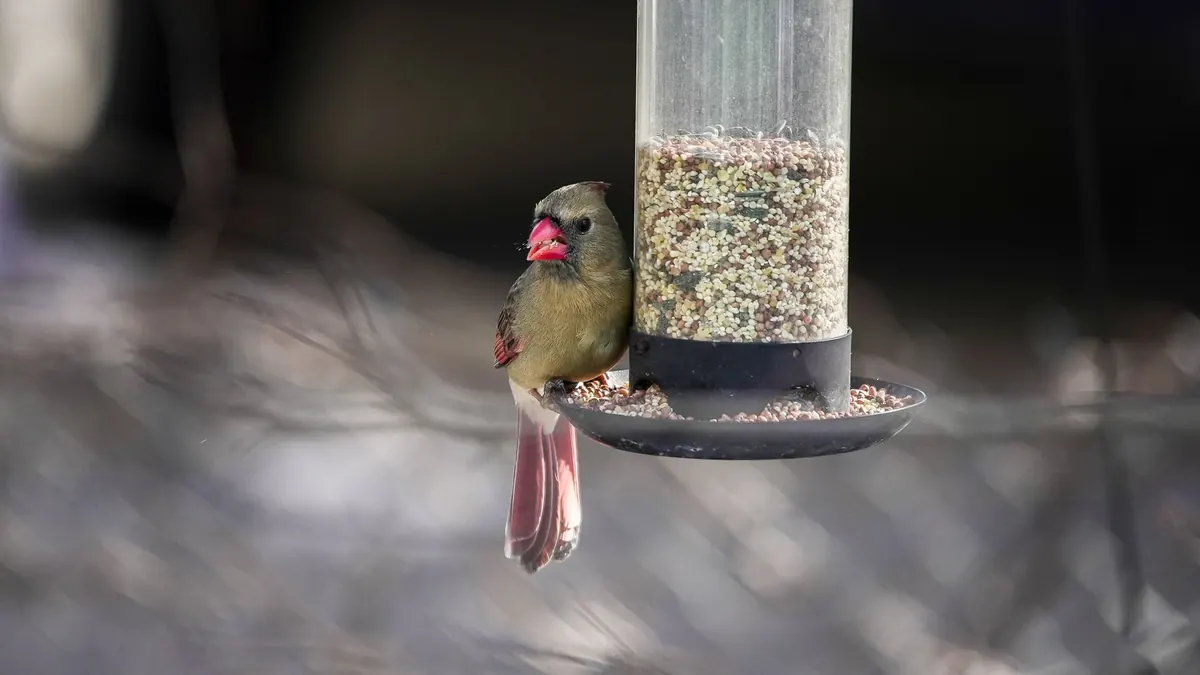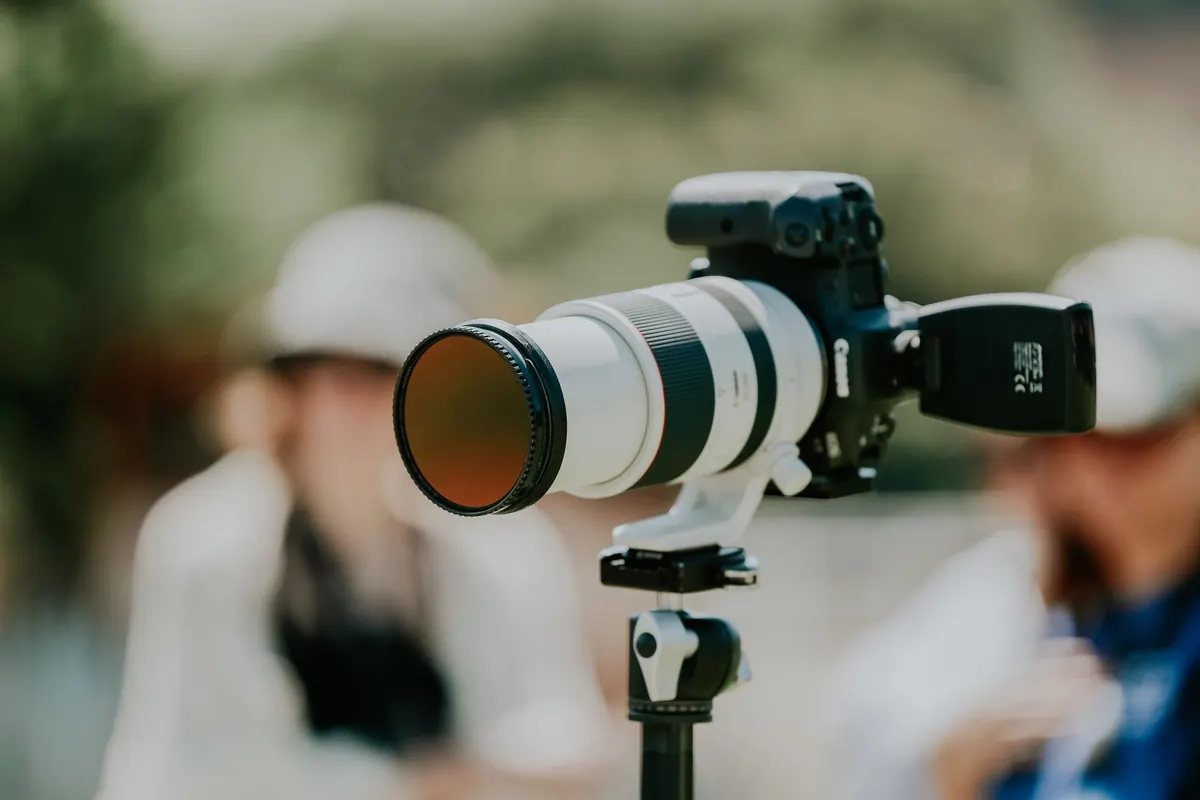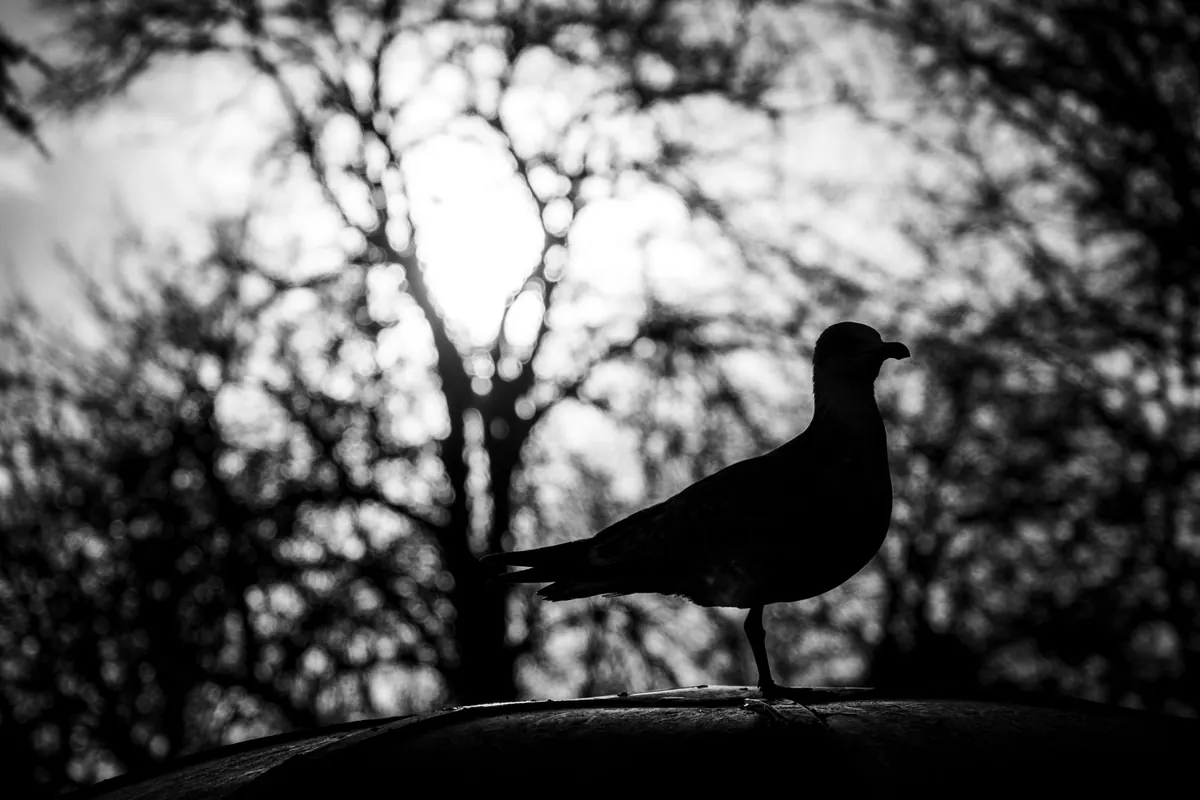
There's a short stretch of light each day — the first twenty minutes after sunrise, the last twenty before sunset — when a turning bird becomes a burning outline. Feathers go translucent, the body falls into shadow, and the frame stops being a portrait and becomes a study in light. It is also where a lot of decent bird photographs quietly fail: the background goes white, the rim clips into blank paper, and the thing that made the scene worth stopping for is gone. Photographing backlit birds isn't about fighting the sun. It's about deciding which part of the scene deserves your exposure.
Light From Behind Is the Whole Point
When the sun is behind your subject, three things happen at once. The bird separates from whatever is behind it, the thinner feathers — often the wing coverts, the nape, the trailing edges of the wings — glow as light passes through them, and the background compresses into a bright, low-contrast wash. The rim is what sells the picture. A clean gold edge over a dark body reads instantly as golden hour; a bright bird on a bright background usually reads as a mistake.
So commit early. The rim is the subject. The bird's shadow side is support, and it can stay dark. Once you accept that, every decision downstream gets easier.
Position Before Settings
The biggest single improvement you can make has nothing to do with your camera. It's where you stand.
Pure backlight — sun directly behind the bird on the line between you and it — gives you a thin, elegant outline and almost nothing else. Rotate twenty to forty degrees off that axis and the rim thickens along one side while a sliver of light creeps onto the cheek. That off-axis angle is the sweet spot for most perched birds, because the eye picks up a catchlight and the bird stops looking like a cutout.
Then get low. Kneel, sit on the bank, or lie down so you're at the bird's eye level. For waders and waterfowl this changes the background from flat sky to a field of backlit ripples, which is worth the wet knees.
Finally, watch for movement rather than chasing it. A preen, a stretch, a small wing lift: that's the instant the rim explodes outward and the frame fills with light. Learn the tells and be ready before they finish.
Choose a Background That Pushes the Rim Forward
A glowing edge needs something quiet to sit against. Before you touch a dial, look past the bird and decide what's back there.
- Shaded bank, dark treeline, deep water. The safest and most reliable option — anything a couple of stops darker than the rim itself.
- Backlit water. Ripples break into scattered points of light. Lovely as soft bokeh at a wide aperture; busy and distracting if they resolve into hard detail.
- Warm open sky. Fine as a gradient right after sunrise, riskier as the sun climbs and the sky brightens past the rim.
- Bright sky behind a dark bird. That's a silhouette. Excellent when it's deliberate, empty when it isn't.
Move three steps and the whole frame changes. Walking the background is often faster than rebuilding the exposure.
Meter for the Rim, Not the Bird
Camera meters average a scene toward middle grey, and a backlit scene — blazing edge, dark body, bright sky — is exactly the situation that fools them. In matrix or evaluative mode you will typically get a washed-out background and a rim that has clipped to flat white. Take control.
- Switch to manual. Set ISO for the light, an aperture that keeps the whole bird sharp (f/4 to f/6.3 is a good working range for small birds), and a shutter speed that freezes motion — around 1/1000s for songbirds, faster for anything in flight.
- Turn on your highlight warnings — blinkies or zebras. That display, not the meter needle, is your exposure guide now.
- Focus on the bird and open up or slow the shutter until the brightest part of the rim just begins to blink.
- Ease back about a third of a stop. The rim is now as bright as it can be without losing detail.
- Ignore the rest of the histogram. You should expect a heavy shadow hump and a thin spike at the right edge. That spike is the rim, and it's fine.
- Re-check whenever the bird turns or the light shifts. A change in angle changes exposure more than most people expect.
If you'd rather stay in an automatic mode, highlight-weighted metering with minus one to minus two stops of compensation is a reasonable starting point. Manual just holds that exposure steady through a burst, which is usually what you want.
Focus, Speed and the Small Details
Autofocus struggles with a dark body against a bright background, so use a small AF area and continuous mode, and put it on the head or the boundary between the rim and the shadow. Back-button focus keeps the shutter free for timing. Aim at the eye; the rim will be sharp enough on its own.
Shutter speed does most of the heavy lifting. Small songbirds need 1/1000s or faster because they never truly stop moving. Larger waders can be shot at 1/500s and still look still. For takeoffs and wingbeats, go to 1/2000s and shoot short bursts.
Two housekeeping habits matter more in backlight than anywhere else. Use your lens hood, and keep the front element genuinely clean — a speck of dust in a low-contrast, sun-facing frame turns into a visible glow. If the sun is close to the frame edge, rotate slightly off-axis to cut veiling flare, or let a branch or leaf occlude the sun and use that as part of the composition.
Fill Light, Editing, and Knowing When to Stop
A touch of fill flash at minus two or three stops can open up an eye and a cheek, but only at close range with high-speed sync; beyond a few meters it adds weight and little else. A reflector can work on a settled bird, though most will leave before you get it positioned. Often the strongest backlit frames are the ones allowed to stay nearly silhouetted, with just enough detail in the body to show shape.
In editing, lift the shadows a stop, maybe two, and stop before the body turns grey and noisy. Don't sharpen the rim aggressively — bright edges against dark backgrounds are where halos appear first. Keep the white balance warm, but let the light supply most of the gold rather than pushing saturation until the feathers turn orange.
A backlit bird is a test of restraint. The best versions are the ones where you resisted the urge to brighten everything.
A Golden Hour Backlight Checklist
- Arrive before the light peaks and get low to the bird's level.
- Walk the sun angle before you touch the settings — off-axis beats dead-behind.
- Decide on the background: dark bank, sparkling water, or a deliberate silhouette.
- Shoot manual, watch the blinkies, and let the rim sit just under clipping.
- Small AF point, continuous focus, back-button, and a shutter speed with headroom.
- Watch for the wing lift and be shooting when it happens.
- Review at 100 percent, confirm the rim still has detail, then move on.
Get the rim right and the rest of the frame tends to fall into place. The body can stay dark, the sky can stay bright, and the bird will still look like it's made of light.
Photo: Tiago Chaves / Pexels